
This tutorial explains how to take digital output from Arduino. One of the basic tutorials for Arduino. The output is taken on a LED that blinks for an interval of 1 second.
1. Introduction:
A step by step illustrated very basic tutorial for Arduino. Here we are taking digital output on a LED. This LED remains ON for one second and OFF for another, this loop runs for an infinite time.
1.1 LED Pins:
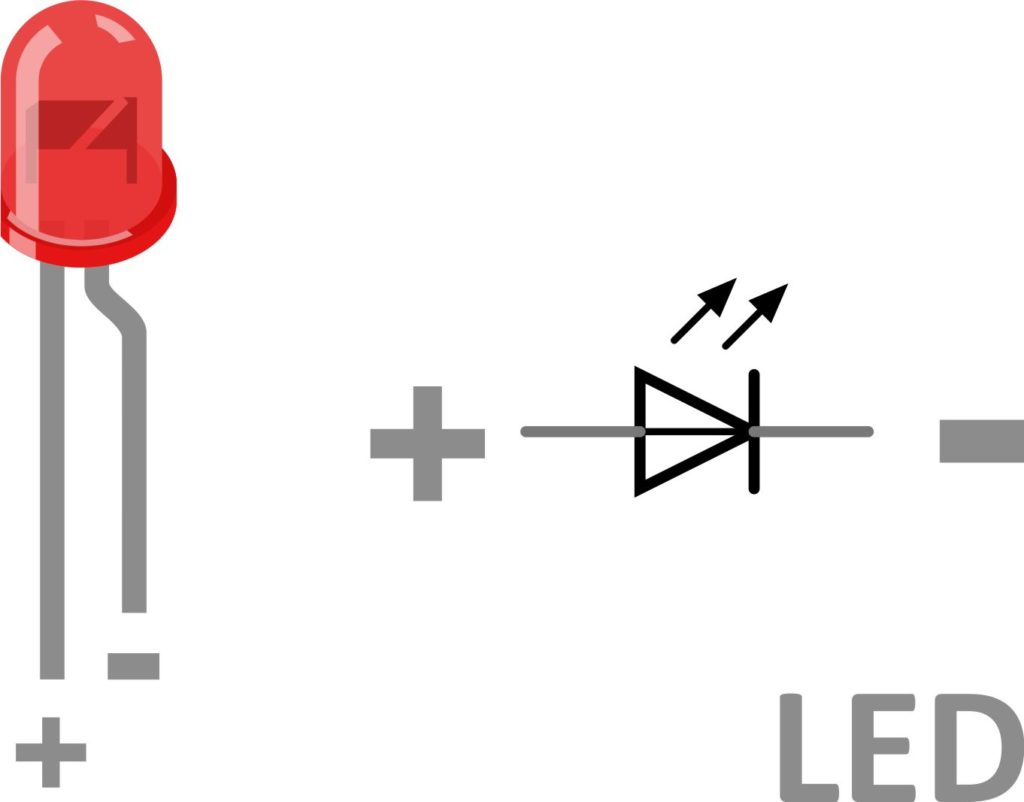
LED has two pin interface. Both of these pins are to be given input supply to the LED. Long legs is for positive supply the smaller one is for negative supply. following image depicts it clearly.
Digital means either 0/1, in other words HIGH/LOW or ON/OFF. So in the form of digital output we shall get either +5V or 0V on digital pin of Arduino. How does it happen that is illustrated ahead.
This tutorial is made on Original Arduino UNO and Robo India’s R-Board(UNO compatible.)
2. Required Hardware
Following Hardware will be required to perform this LED blinking sketch.
| S.No. | Item | Quantity |
| 1. | Arduino UNO Board | 1 |
| 2. | Bread Board | 1 |
| 3. | Male to male Jumpers | 4 |
| 4. | Indicatior LED | 1 |
| 5. | 100 OHM Resistance | 1 |
3. Building Circuit
Make following circuit with the help of above mentioned components.
3.1 You may go with Robo India’s R-Board(UNO Compatible)-
or
3.2 You may go with original Arduino UNO Board

4. Programming:
Once we are done with circuit part, here is our programme to this circuit.
You may download this code (Arduino Sketch) from here.
// Digital output tutorial by ROBO INDIA
// www.roboindia.com
// Digital output is taken on a LED that remains ON for one second and
// OFF for another.

// Defining Pin 2 as LED.
const int LED = 2;  // from the circuit we can see that we have connected LED on Pin 2


void setup() {
    pinMode(LED, OUTPUT); // Defining LED pin as OUTPUT Pin.
}

// Below mentioned code runs for ever(infinite loop)
void loop() {
  digitalWrite(LED, HIGH); // LED gets turned ON (1/HIGH/+5V)
  delay(1000);             // Waiting for one second.
  digitalWrite(LED, LOW);  // LED gets OFF (0/LOW/0V/GND)
  delay(1000);        // here and above Delay is in mili second (1000 = 1 second)
}
5. output:
Here is the output of this tutorial-
If you have any query please write us at support@roboindia.com
Thanks and Regards
Content Development Team
Robo India
http://roboindia.com