
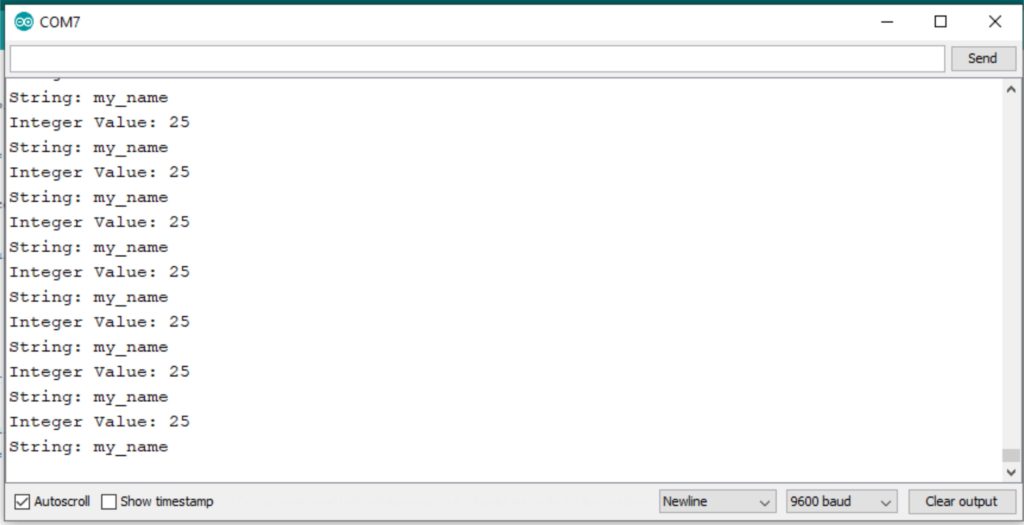
The serial monitor of Arduino can be used for displaying the output of the various sensor and debugging your code.
It is easy to use and helps in debugging large codes.
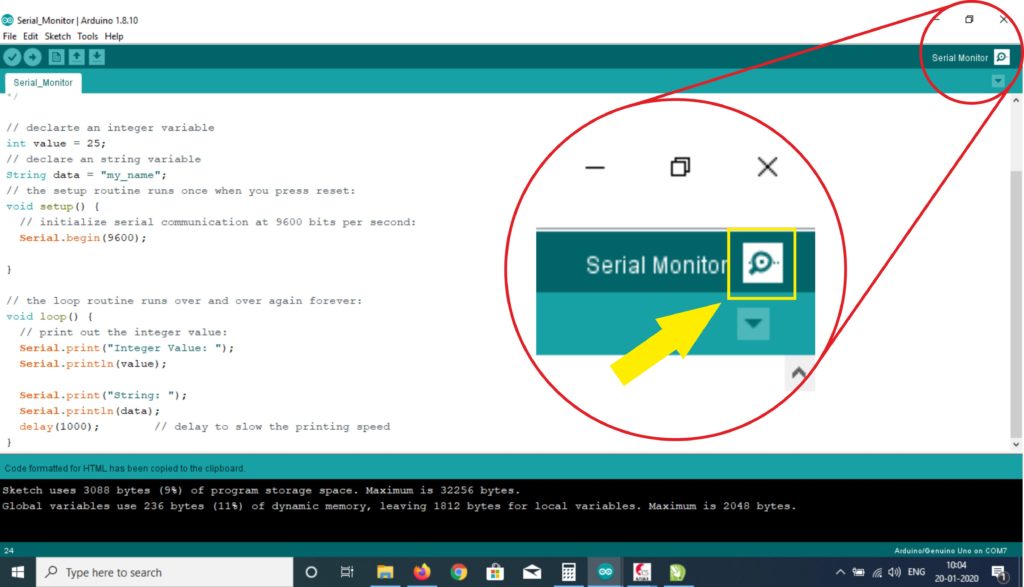
Program:
/*
  Arduino: Serial Monitor
  This program prints a integer variable value and a string on Serial Monitor

  http://www.roboindia.com/tutorials/
*/

// declarte an integer variable
int value = 25;
// declare an string variable
String data = "my_name";
// the setup routine runs once when you press reset:
void setup() {
  // initialize serial communication at 9600 bits per second:
  Serial.begin(9600);

}

// the loop routine runs over and over again forever:
void loop() {
  // print out the integer value:
  Serial.print("Integer Value: ");
  Serial.println(value);

  Serial.print("String: ");
  Serial.println(data);
  delay(1000);        // delay to slow the printing speed
}
How it works:
Initialize the serial port with baud rate 9600.
Remember your baud rate i.e. 9600
  // initialize serial communication at 9600 bits per second:
  Serial.begin(9600);
Serial.print will print in the same line whereas Serial.println with ‘ln‘ in the end will change the line after printing.
Anything written in a double inverted comma inside the bracket will be printed as it is, e.g. “Integer Value: “ below.
If you write the name of the variable then the value of the variable will be printed. e.g. value.
  Serial.print("Integer Value: ");
  Serial.println(value);
How to open the serial monitor:
Click on the serial monitor button on top-right of the Arduino IDE.
Once serial monitor is open you can see the data printed in the code.
Practice problems:
- Print your name and class on the serial monitor.
- Print number 1-100 on the serial monitor using for loop.