
In this tutorial, we will learn how to vary the light intensity of an LED connected to a Pico board. In this experiment, we will create a PWM (Pulse Width Modulation) signal and observe its effect on the LED.
Buy Basic Raspberry Pi Pico Kit
NOTE: If you want to use an external LED for this experiment, you need to choose a Pico pin of your choice and update the LED pin number in the code accordingly
Item Required:
Connections:
just plug the Pico USB cable to laptop
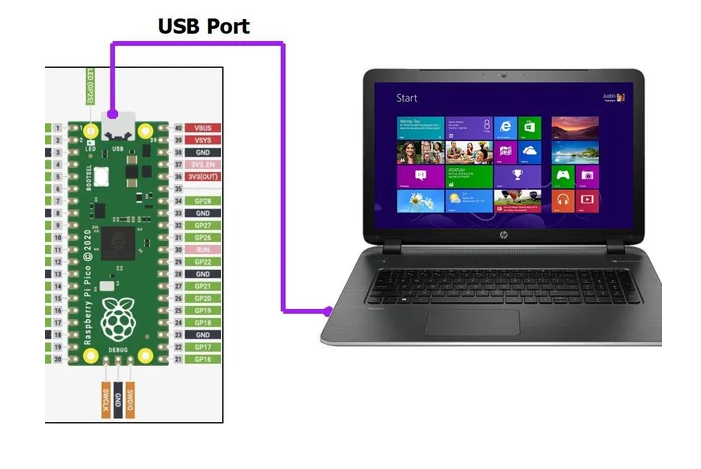
Plug one end of the USB cable into your laptop and the other end into the Pico.
Code:
from machine import Pin, PWM
from time import sleep

# Set up PWM Pin
led = machine.Pin(20)
led_pwm = PWM(led)
duty_step = 129  # Step size for changing the duty cycle

#Set PWM frequency
frequency = 5000
led_pwm.freq (frequency)

try:
    while True:
      # Increase the duty cycle gradually
      for duty_cycle in range(0, 65536, duty_step):
        led_pwm.duty_u16(duty_cycle)
        sleep(0.005)

      # Decrease the duty cycle gradually
      for duty_cycle in range(65536, 0, -duty_step):
        led_pwm.duty_u16(duty_cycle)
        sleep(0.005)

except KeyboardInterrupt:
    print("Keyboard interrupt")
    led_pwm.duty_u16(0)
    print(led_pwm)
    led_pwm.deinit()
Upload the code to the Raspberry Pi Pico using Thonny and save it as main.py. Then run it by clicking the green “Play” button in Thonny.
Results:
The on-board LED of the Pico will vary its brightness according to the duty cycle defined in the code.